
How to plan a school or team weight room athletes actually use
Designing an athletic training facility is not just about buying racks, plates, turf, and machines. A school weight room, varsity performance center, or team training facility has to support the way athletes actually train: in groups, under supervision, with structured sessions, constant movement, and heavy daily use.
That changes the priorities. You need enough strength capacity to train efficiently. You need open space for speed, warm-ups, movement prep, plyometrics, and coaching. You need clear sightlines. You need flooring that can handle impact. You need equipment that still performs after several seasons of team training.
A strong athletic facility feels organized when it is full. Athletes know where to go. Coaches can run the session without constantly redirecting traffic. The room supports the program instead of getting in the way.
The best athletic training facilities are not built around equipment. They are built around athletes, coaches, training flow, and long-term durability.
Start with the training model, not the equipment list.
This is the most important planning principle for athletic training facility design. The equipment list should come after the training model is clear.
Start with practical questions —
How many athletes train at once?
Are sessions coached in full teams, smaller groups, or stations?
In schools, is the room shared with physical education classes?
Will one sport use the room, or several teams with different needs?
How much speed, jumping, and warm-up work happens inside the facility?
A football program, basketball team, soccer team, swim team, and general physical education class may all use the same room differently. The layout has to be flexible enough to support those differences without feeling like it needs to be rebuilt every session.
A room that looks complete on an equipment list can still fail if athletes have nowhere to warm up, coaches cannot see the group, or athletes are constantly crossing through lifting zones to access storage or turf.
How big should an athletic training facility be?
Athletic training facilities vary widely depending on the school, team, level of sport, group size, and training philosophy. A small high school weight room may be only a few thousand square feet, while a large varsity performance center can be significantly larger.
| Facility Type | Typical Size |
|---|---|
| Small school weight room | 1,500 – 3,000 sq ft |
| Mid-size athletic facility | 3,000 – 6,000 sq ft |
| Large varsity or performance center | 6,000 – 15,000+ sq ft |
The best size depends on how the room will actually be used. A 2,500 sq ft room can work very well for a high school if the groups are managed properly and the equipment selection is disciplined. A 6,000 sq ft room can still feel cramped if the layout is overloaded or if the movement zones are too small.
A well-planned room does more with its square footage. That is usually more important than simply having a bigger room.
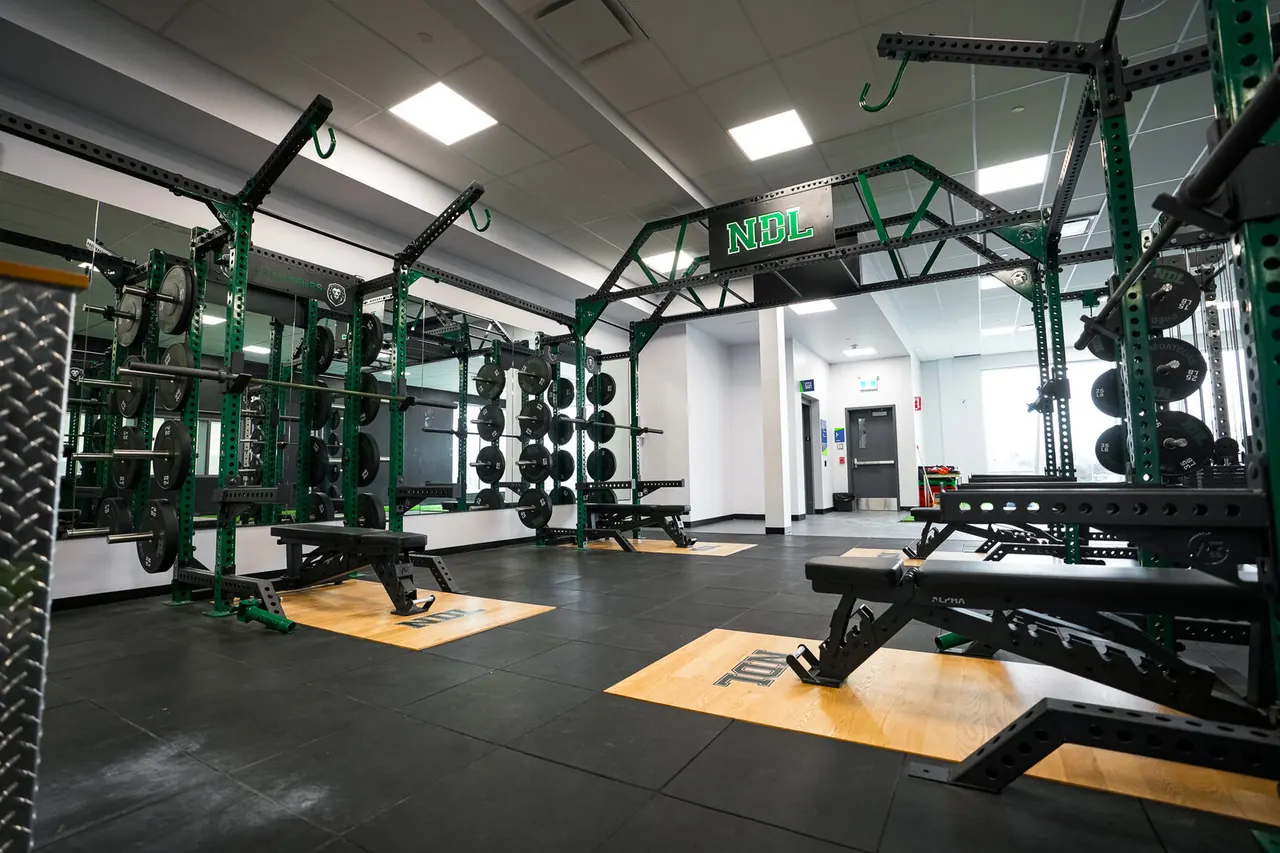
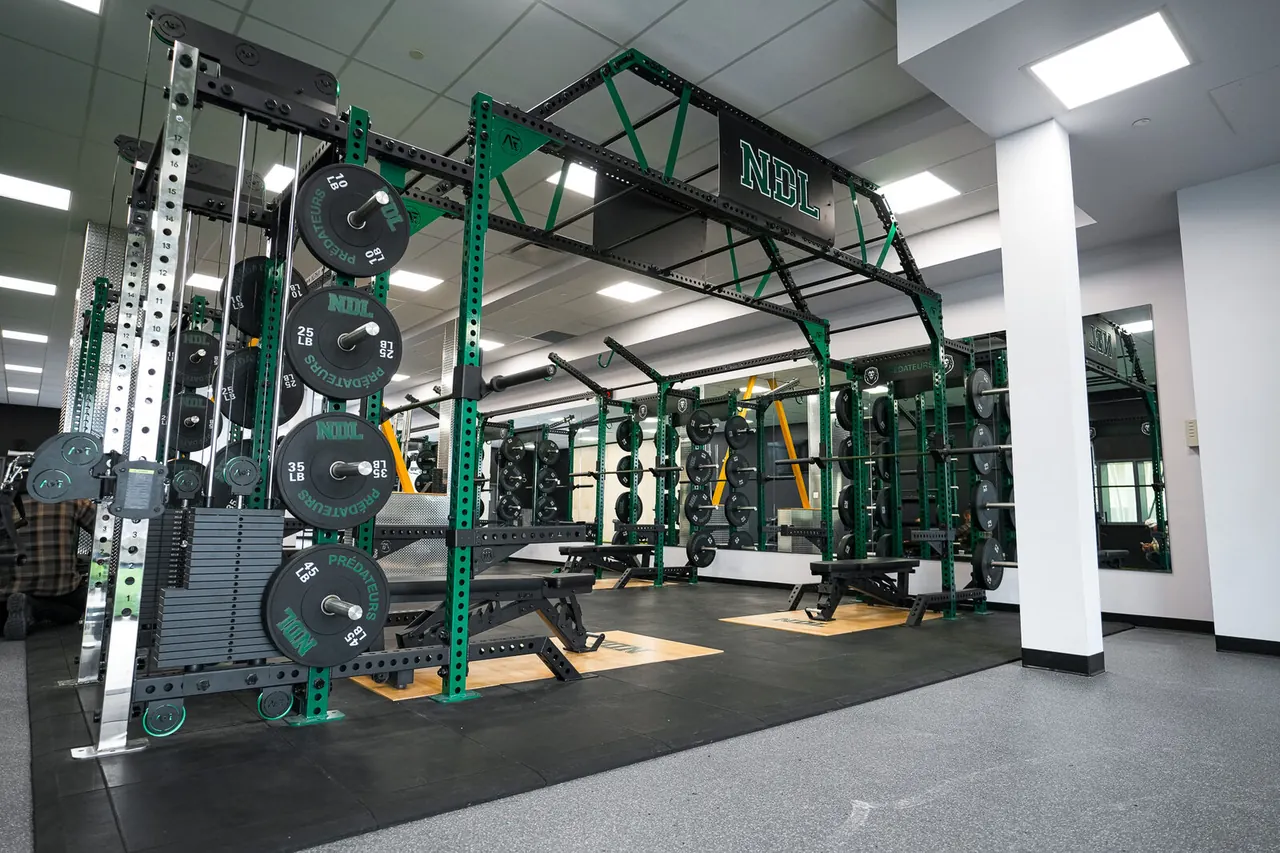
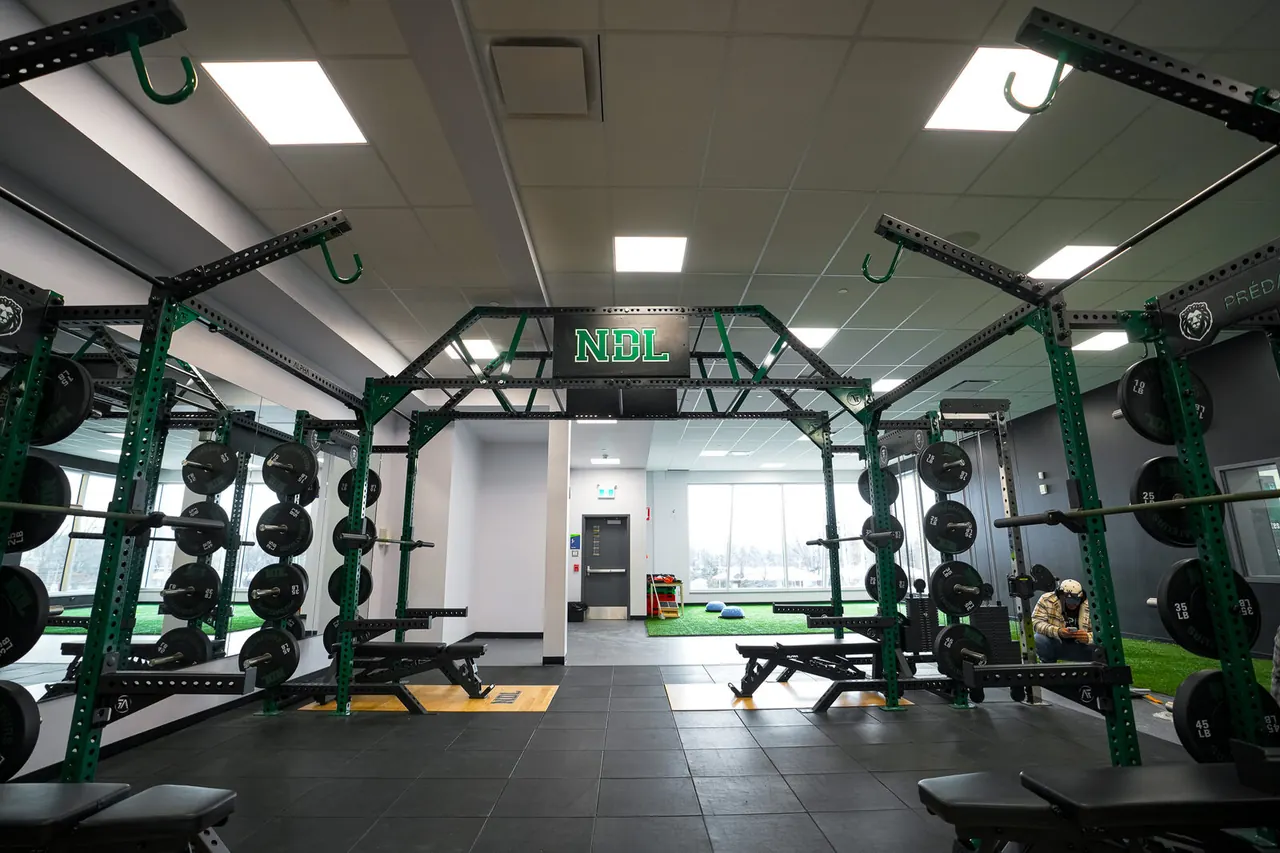
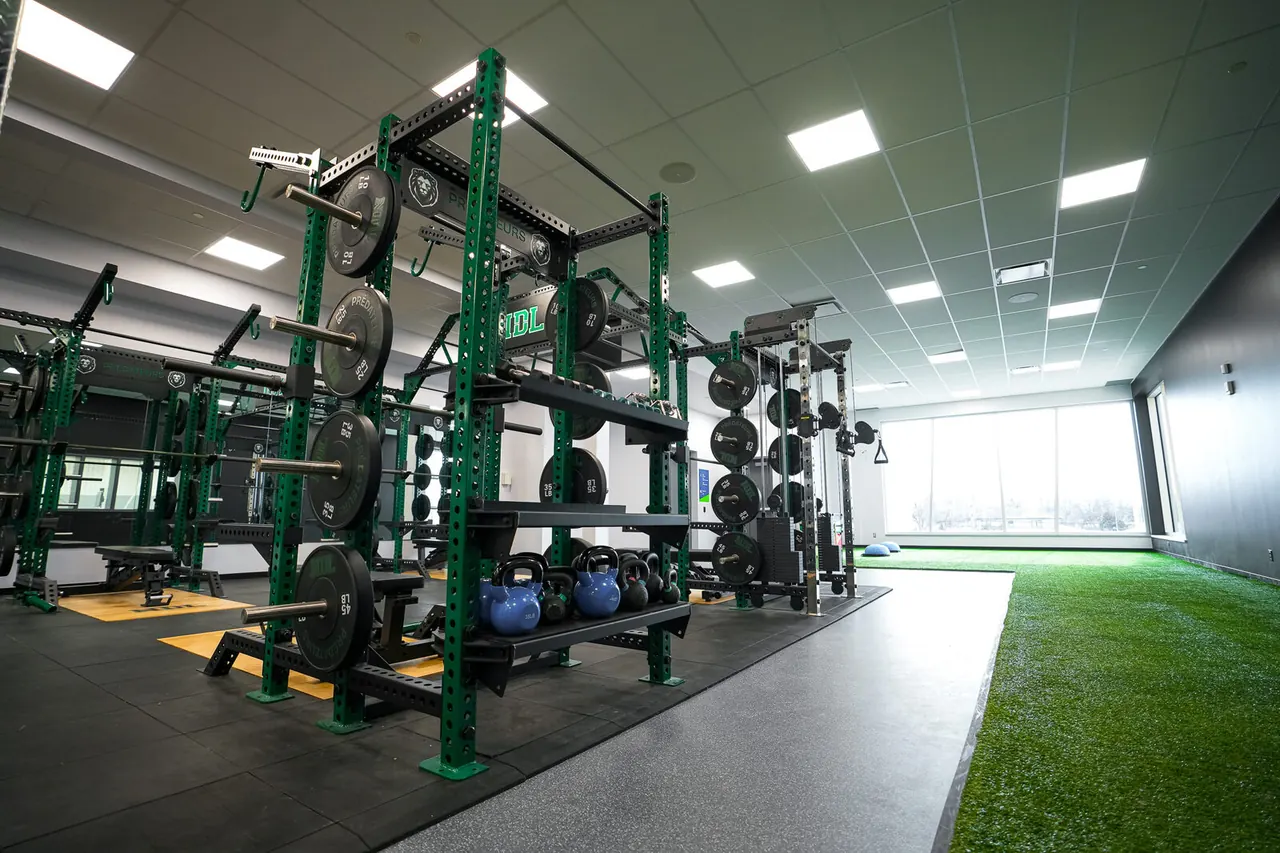
The College of Notre-Dame-de-Lourdes weight room is a good example. While basketball is one of the school’s flagship programs, the room also supports other sports such as football and volleyball, along with physical education classes.
How many athletes train at the same time?
Many facilities are planned around equipment quantity. In practice, they should be planned around group size. In athletic environments, athletes usually train in groups, under supervision, with a structured session. That means the room has to support rotation, flow, and coaching.
| Facility Type | Typical Peak Group Size |
|---|---|
| High school teams | 15 – 40 athletes |
| College or varsity teams | 20 – 60 athletes |
| Private performance centers | Variable, depending on the coaching model |
During one session, one group may be lifting at the racks, another may be doing accessory work, another may be on the turf, and another may be warming up or recovering between sets. That only works if each zone has enough room to function at the same time.
A rack station needs more than the footprint of the rack itself. It needs space for the barbell, plates, spotters, athletes waiting between sets, and a coach walking through. The same logic applies to turf, dumbbell areas, sled lanes, and platform zones.
The real test is simple: can a coach run a full session smoothly when the room is busy?
Strength capacity and movement space — in balance.
Athletic facilities are usually planned around zones. The right allocation depends on the athletes, sports served, coaching model, and training philosophy, but the starting point is often different from a commercial gym.
A football-focused facility may need more rack and platform capacity. A basketball, soccer, or hockey-focused room may put more emphasis on turf, movement, plyometrics, mobility, and deceleration work. A performance center working with younger athletes may benefit from a more open layout with fewer fixed stations.
Open space deserves real respect in an athletic facility. It is where athletes sprint, shuffle, jump, throw, warm up, carry, decelerate, and prepare their bodies to train. It also gives coaches room to see the group, move through the room, and make corrections.
A room can look impressive in a rendering and still be frustrating in practice. The question is always the same: can athletes move through the session safely and efficiently?
Free weights form the foundation — machines complement, not dominate.
Athletic training facilities usually rely on equipment that supports movement, strength, power, and group training. The best equipment mix depends on the program, but most rooms are built around durable, versatile pieces that can serve many athletes and many sports.
Core equipment categories often include
- power racks or half racks
- lifting platforms
- barbells and plates
- dumbbells
- adjustable benches
- sleds and turf
- plyometric boxes
- medicine balls
- bands and functional training tools
- cable stations or selectorized machines where appropriate
Free weights tend to form the foundation because they are versatile and easy to program across different sports. They allow athletes to squat, hinge, press, pull, carry, jump, and train force production in ways that fit most athletic development programs.
Machines can still be useful. They can help with accessory work, hypertrophy, rehabilitation, or training around injuries. The key is to choose them intentionally. In most athletic facilities, machines should complement the room rather than dominate it.
Durability also matters. School and team environments put equipment through a lot. Benches get moved constantly. Racks get heavy daily use. Plates, bars, turf, and flooring all take repeated impact. The room might look good on installation day — but how does it perform after years of team training?
For rack and platform zones, a practical planning guideline is 150–250 sq ft per rack or platform station, including circulation. That may sound generous, but athletic training requires working room.
| Facility Size | Planning Considerations |
|---|---|
| 2,500 sq ft | 4–6 rack stations, compact turf, dumbbells, storage, accessories |
| 6,000 sq ft | Clearer zones, more rack capacity, larger turf, station-based team training |
| 10,000+ sq ft | Greater separation between speed, strength, accessory, recovery, and team-specific zones |
Each station may need space for the rack, lifting platform, barbell movement, plate storage, spotters, athletes rotating between sets, coach access, and safe walkways.
When stations are too tight, the room slows down. Athletes wait longer. Coaches have less room to work. Barbells, plates, benches, and bodies start competing for the same space.
How athletes actually move.
A strong athletic facility layout reflects the rhythm of a training session. Layouts that support this sequence tend to feel more natural for athletes and easier to coach.
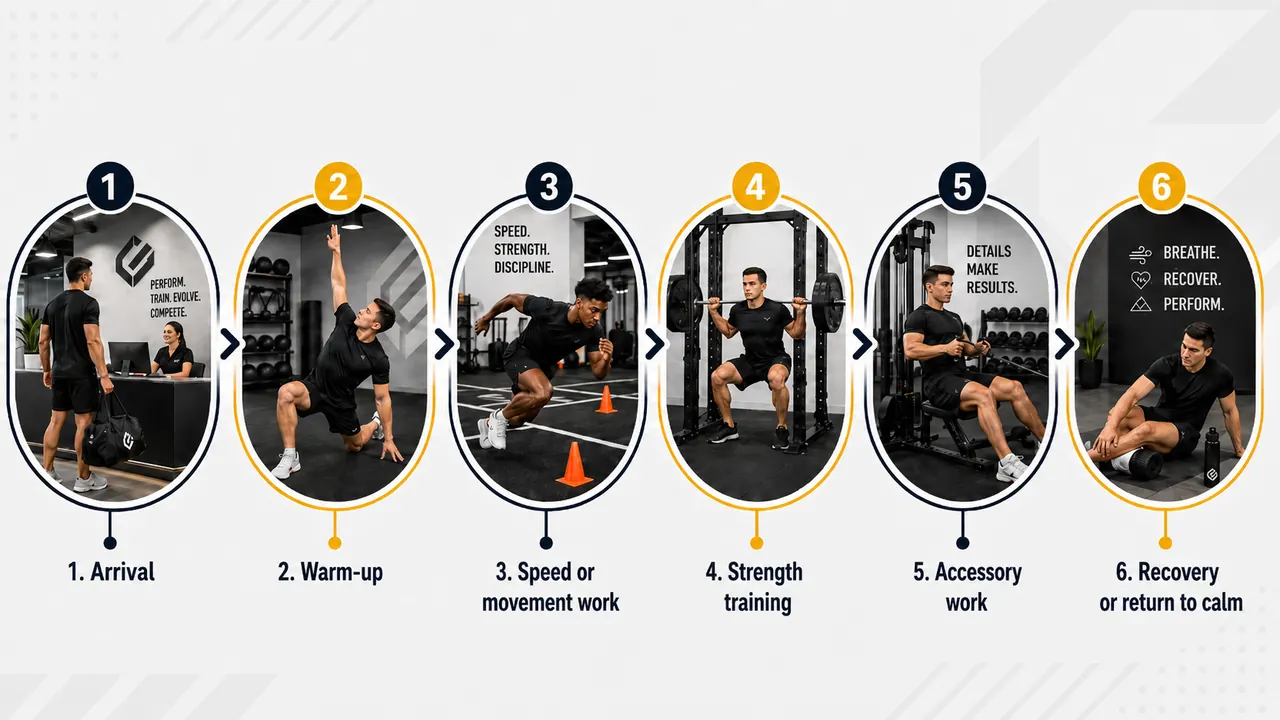
Entry and storage access: bags, bottles, small accessories, and traffic control.
Warm-up and movement zone: turf, mobility, plyometrics, medicine balls, and sleds.
Main strength zone: racks, platforms, barbells, plates, and benches.
Accessory zone: dumbbells, cables, selectorized machines, bands, and smaller tools.
Recovery or cooldown area: mobility, stretching, and lower-intensity work.
Good layout design also helps the coach. That means clear sightlines, logical equipment grouping, enough room between zones, storage close to where items are used, efficient transitions between exercises, and fewer traffic conflicts during group sessions.
Station-based training often works well in these rooms. A coach can divide athletes into groups and rotate them through racks, turf, dumbbells, sleds, medicine balls, or accessory stations. This keeps the session organized and allows more athletes to train at once without needing one piece of equipment per person.
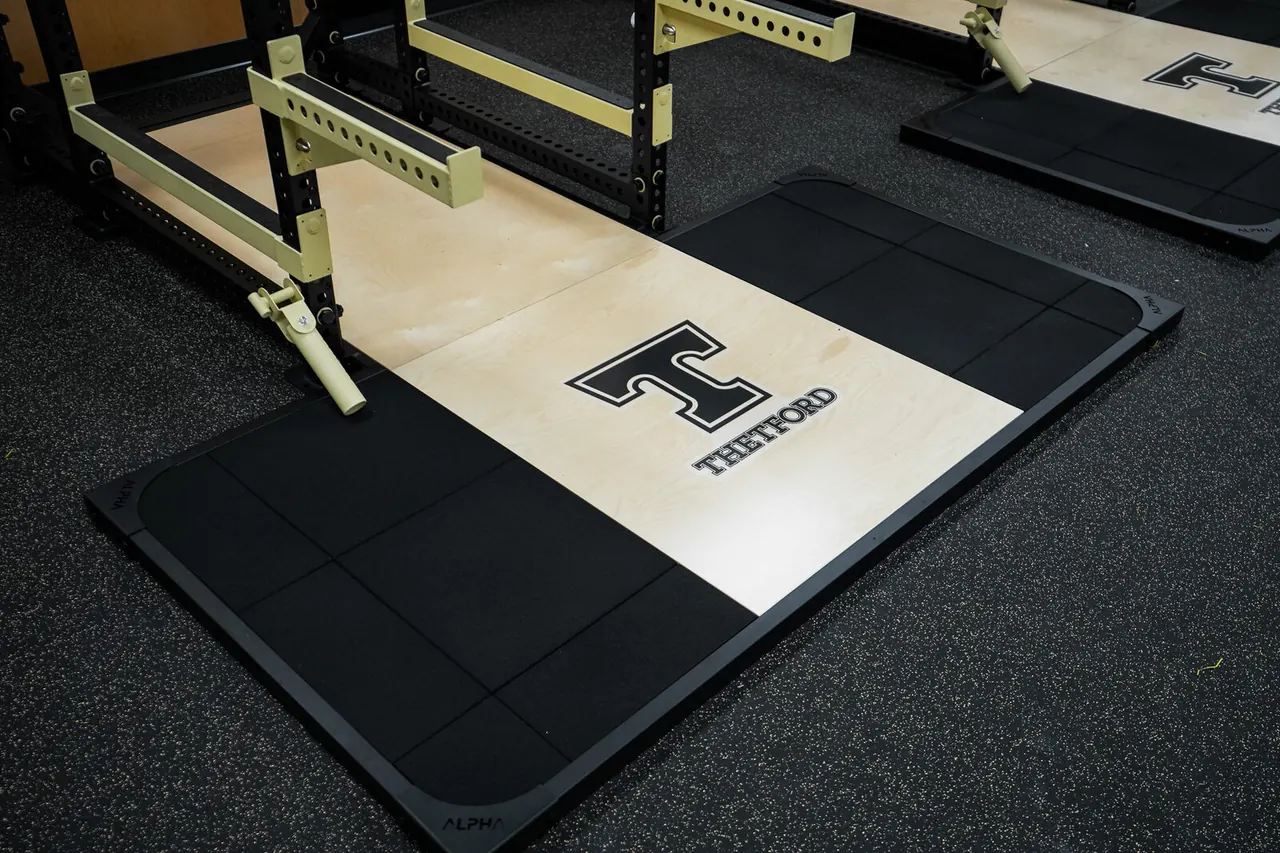
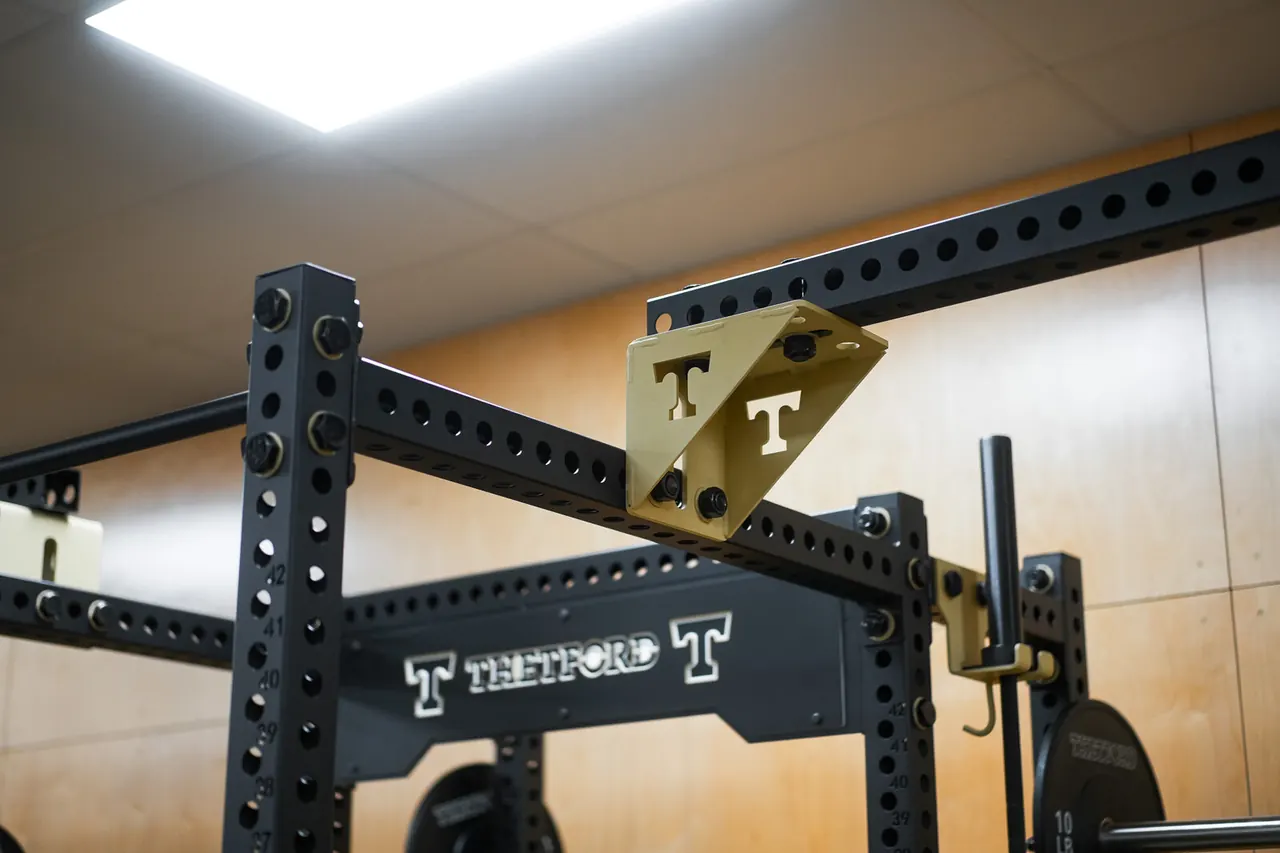
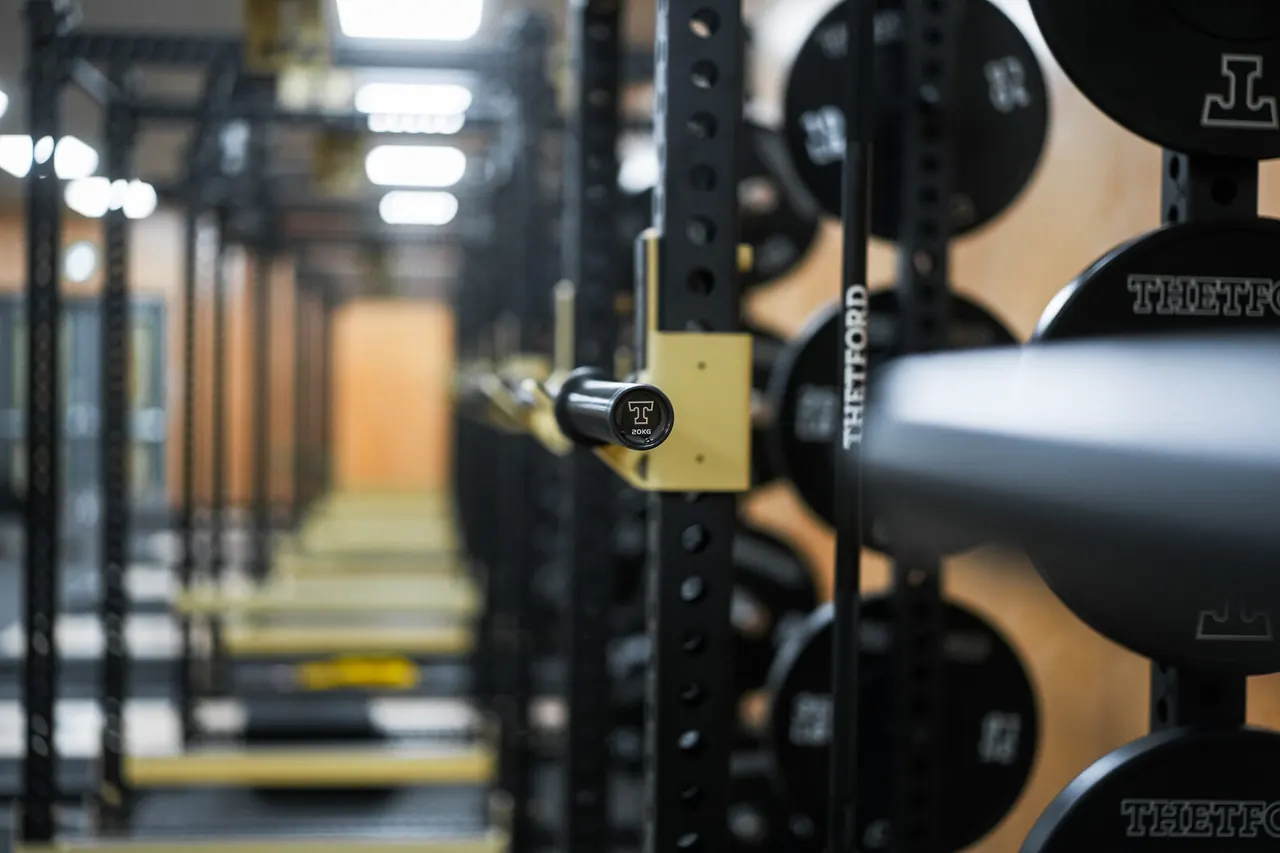
The room should match the way the program trains. This is clear at Cégep de Thetford Mines, where the racks line one wall and the turf lines the other. The result is open space for movement, clean sightlines, and natural transitions between zones.
For a deeper breakdown of gym layouts, review our free gym layout guide.

Higher ceilings unlock more training options.
Ceiling height has a major impact on how a performance space feels and functions.
Ceiling height
- 9 ft minimum for most athletic facilities
- 10–20 ft ideal for larger rooms, turf, and performance zones
Higher ceilings help with jumping drills, medicine ball throws, rigs, suspension systems, Olympic lifting, coaching visibility, airflow, and comfort during large sessions.
Lower ceilings
Lower ceilings can still work, but they require more careful planning. You may need to adjust where certain movements happen, avoid overhead throwing, reconsider rig placement, or choose equipment that fits the space properly.
HVAC & access
Athletic rooms generate heat quickly during team sessions. Poor ventilation can make even a well-equipped facility feel uncomfortable. Plan for storage access, delivery access, floor structure, and electrical needs early.
Flooring is a major part of the design.
It affects safety, noise, vibration, durability, comfort, and maintenance. Most athletic facilities use a combination of rubber flooring for general strength, lifting platforms for Olympic lifting and heavy barbell work, and turf for sleds, speed work, carries, warm-ups, and movement training.
| Zone | Common Recommendation |
|---|---|
| General strength areas | Commercial rubber flooring |
| Rack and platform zones | Platforms or thicker rubber depending on lifting demands |
| Heavy lifting areas | Platforms, 30 mm anti-vibration tiles, or a combined system |
| Turf and movement zones | Turf, rubber, or a combination depending on programming |
Noise and vibration should be planned early, especially if the facility is not on the ground floor. Heavy lifting, sled work, and large groups create impact. The right flooring system can reduce noise transfer, improve shock absorption, and make the room more comfortable to use every day.
Flooring should be planned with the same seriousness as equipment because athletes and coaches interact with it constantly.
Athletic training facilities usually require a durable, long-term investment. Performance spaces see heavy use, which usually means stronger frames, better upholstery, commercial-grade attachments, and durable flooring.
The final number depends on
- size of the facility
- number of racks and platforms
- turf coverage
- flooring type and thickness
- dumbbell, barbell, and plate quantities
- customization level
- installation complexity
- storage needs
- brand standards
- whether the project is built in one phase or over time
For schools, colleges, and sports organizations, the budget may also follow annual or multi-year approval cycles. A phased approach can work well when the full vision is planned from the beginning. A good first phase should make the next phase easier, not create future compromises.
We built a Gym Cost Estimator Tool to help estimate project cost based on square footage and planning assumptions.
Estimate your project in seconds.
Drag the slider, pick your facility type, and see a live budget range built from real Alpha Fitness project data.
The room should make good training easier to coach.
Coaches usually care about
- clear sightlines across the room
- enough rack and platform capacity for group sessions
- open turf or movement space that does not get blocked
- storage located close to where tools are used
- safe transitions between zones
- equipment that can handle heavy daily use
- a layout that supports the program’s coaching style
Athletes usually care about
- a room that feels serious, organized, and motivating
- enough space to move without feeling crowded
- equipment that feels stable, smooth, and durable
- a clear training flow that does not waste time
- a facility that reflects team pride and program standards
A facility can look impressive but still be difficult to use. The best rooms combine performance, durability, coaching visibility, and identity.
Leave room for the next phase.
Athletic facilities do not always need to be completed in one phase. This is especially true for schools, colleges, municipalities, and organizations working through budget cycles.
Leaving room for future expansion can lead to better long-term decisions. A phased strategy may allow the facility to launch with essential training capacity first, then add more racks, turf, storage, machines, branding, or specialty equipment later.
Benefits of phased expansion include
- reducing initial capital strain
- aligning with annual or multi-year budgets
- learning how athletes and coaches actually use the space
- adding equipment based on real demand
- protecting future layout options
The important part is to avoid designing each phase in isolation. The full vision should be planned from the beginning so that each investment moves the room closer to its final purpose.
When a recruit walks in, the room should tell them where they are.
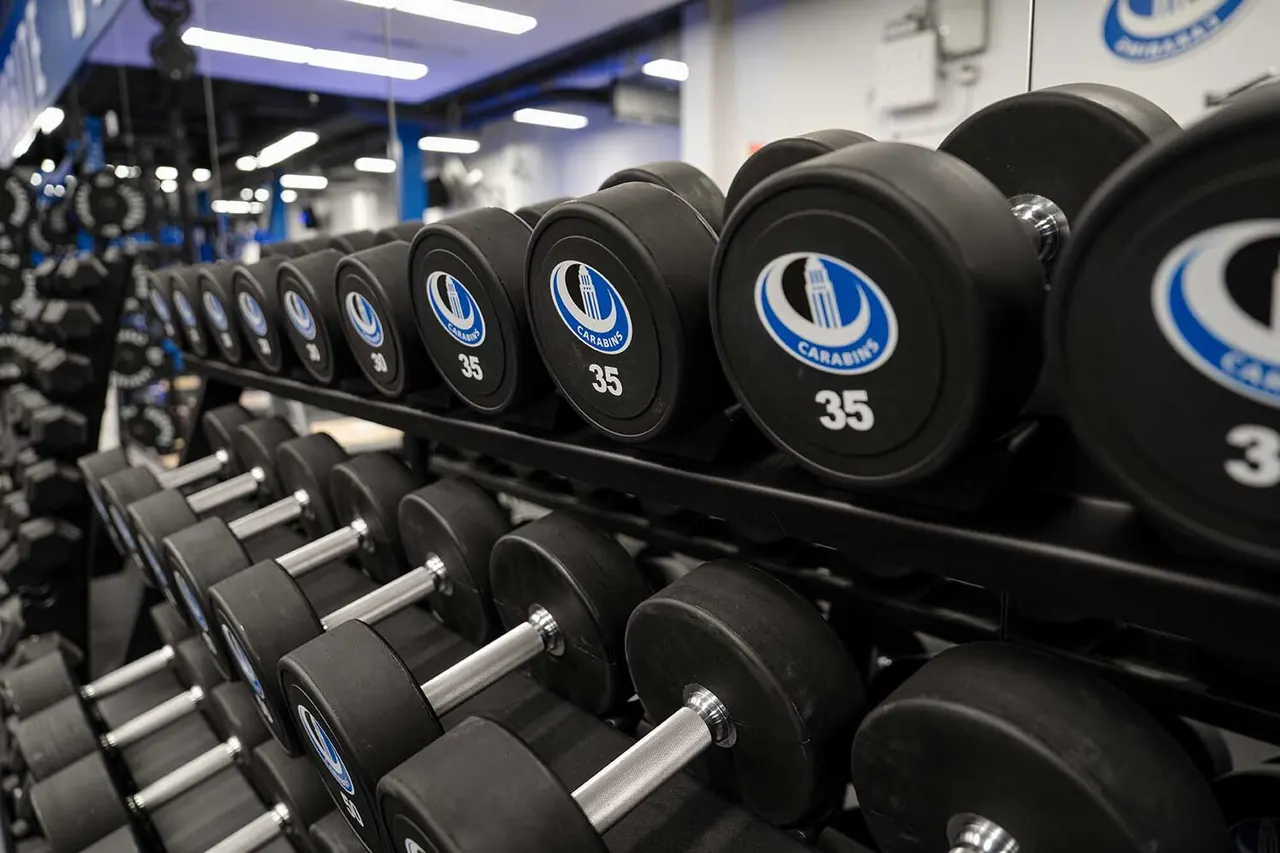
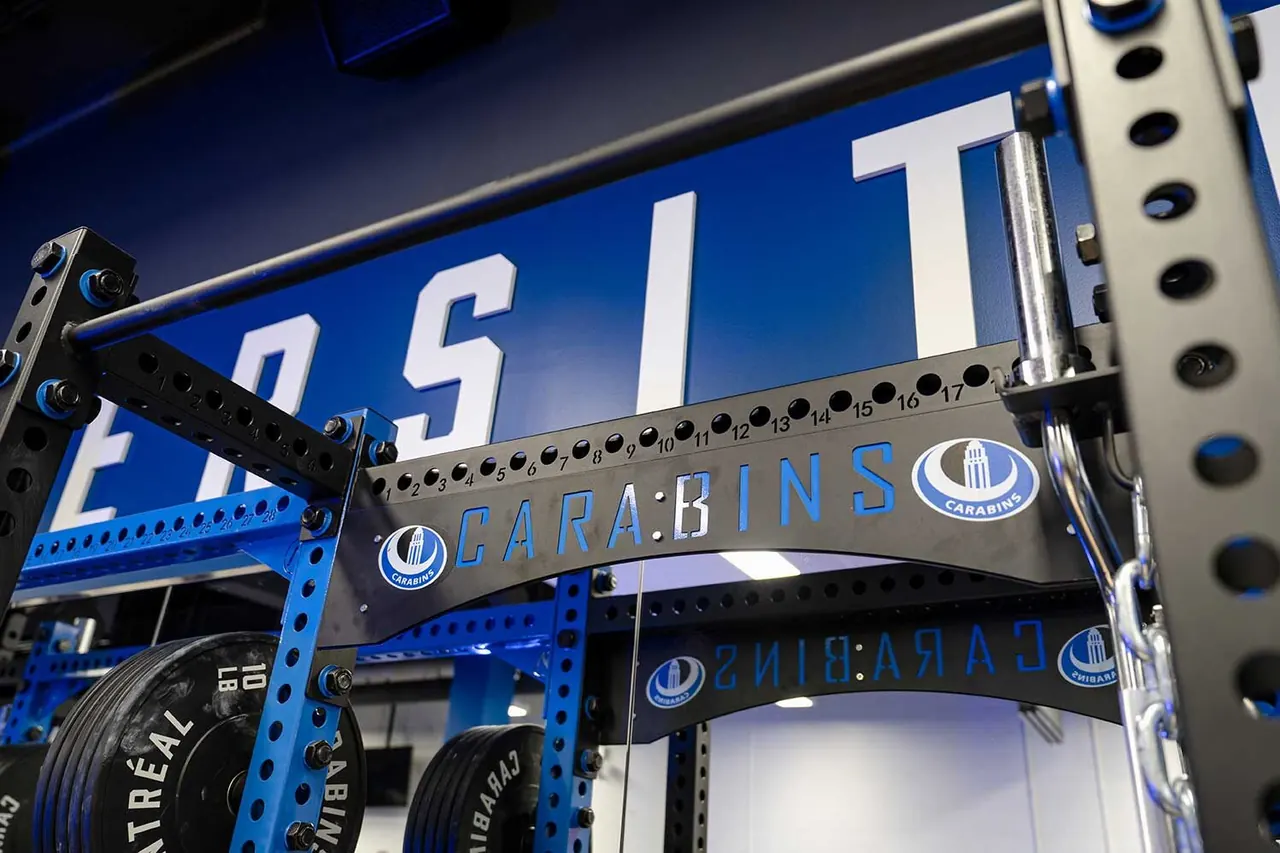
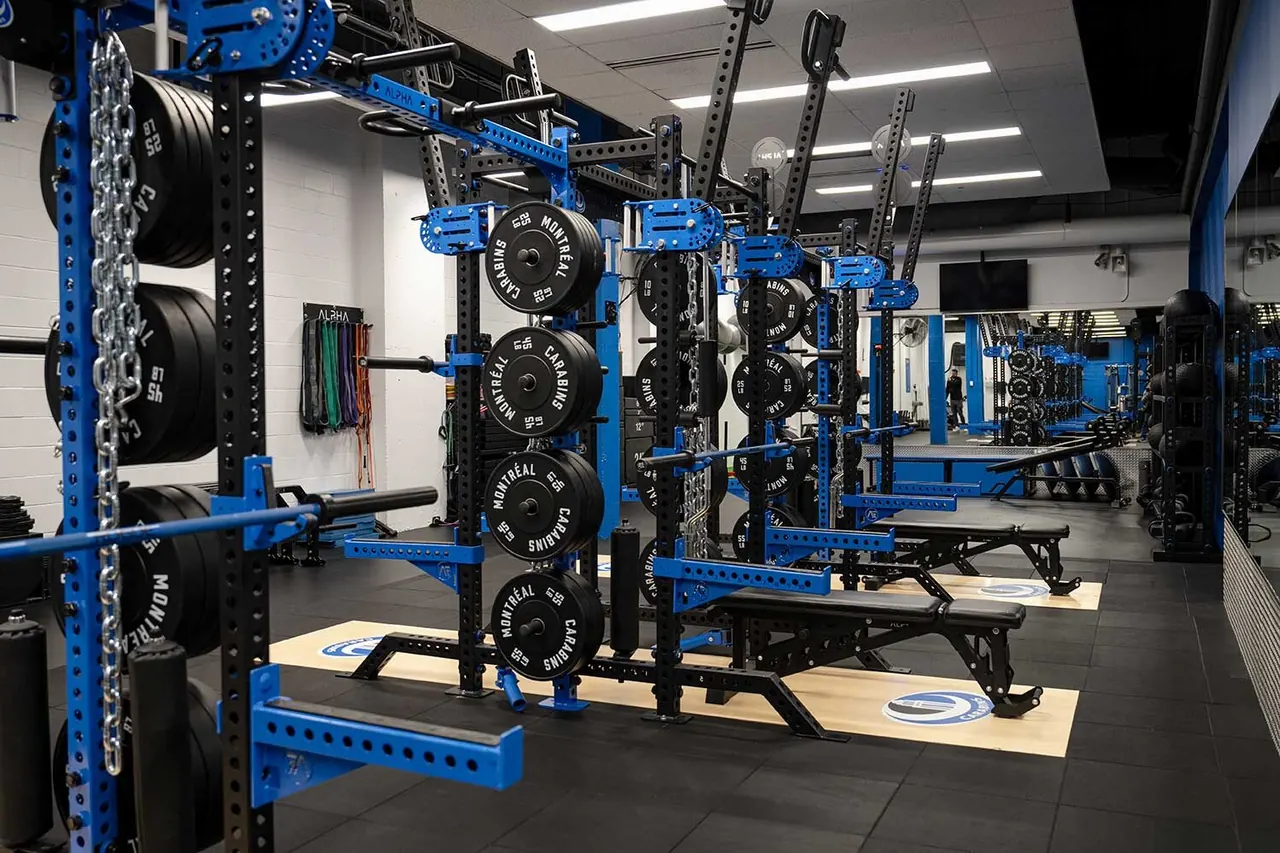
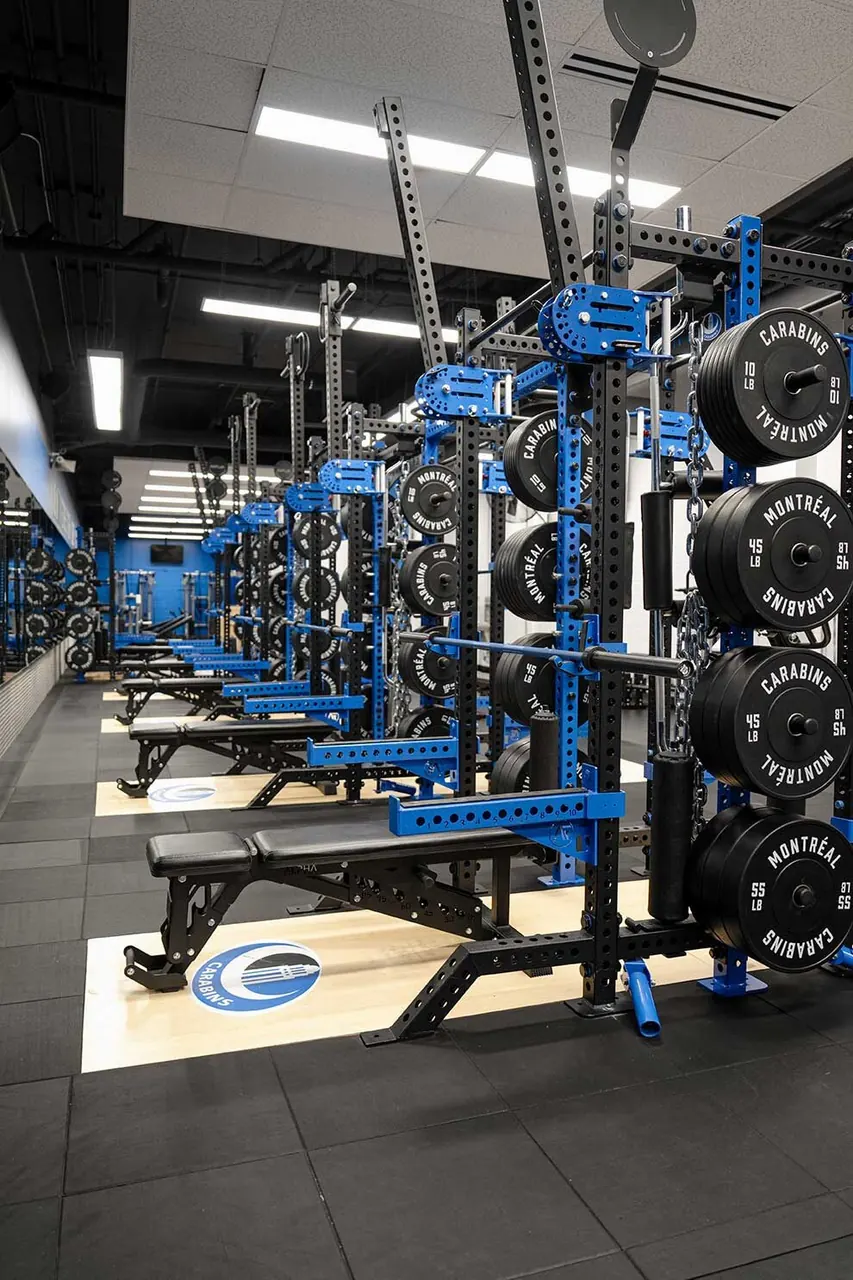
Function comes first in an athletic facility. Once the layout works, customization can make the room feel connected to the school, team, or organization. Branding can support pride, culture, athlete buy-in, and recruitment.
Customization may include
- school or team logos
- custom rack colors
- branded turf
- custom platforms
- wall graphics
- upholstery colors
- branded dumbbells or plates
- integrated storage with team colors
The best branding feels built into the room. If the organization has a marketing or athletics communications team, it is worth involving them early so the visual identity stays consistent with the broader program.
The University of Montreal Carabins weight room is a strong example. The room is functional first, but the paint, logos, custom equipment details, and branded elements make the space clearly belong to the program.
The expensive mistakes show up early.
- Not leaving enough open spaceOpen space looks empty on a drawing, but in practice it is one of the most used parts of the room.
- Buying too many machinesMachines can be useful, but in a performance setting every fixed machine should earn its place.
- Poor traffic flowIf athletes cross lifting zones to reach storage or walk through turf lanes during drills, the room becomes harder to manage.
- Underestimating group sizeA layout that works for 10 athletes may not work for 30.
- Forgetting storageBands, medicine balls, boxes, sleds, attachments, collars, specialty bars, and mobility tools all need a place to go.
- Blocking coaching visibilityRack orientation, tall equipment, storage placement, and zone layout all affect supervision.
- Planning around the equipment list too earlyEquipment should support the training needs, not define them before the program is understood.
Start earlier than you think.
Athletic facility projects should be planned early, especially when they involve schools, colleges, public institutions, construction schedules, or seasonal team calendars.
Fabrication can often take 12–20 weeks or more depending on the scale of the project, customization level, and equipment mix. Institutional projects may also involve extra approval steps. Budgets may need to be reviewed internally. Drawings may need to be approved by several people. Purchasing departments may be involved. Installation may need to happen during a school break, between seasons, or within a construction schedule.
Starting early gives the project more room to breathe. It also gives coaches and decision-makers more time to make the right decisions instead of rushing the equipment list at the end.
Different sizes, same principles.
The exact layout will always depend on sport, group size, coaching model, and budget, but these scenarios show how planning priorities change as square footage increases.
2,500sq ft
A 2,500 sq ft room can work well for a high school athletic program when the layout stays focused. The room needs enough strength capacity to train efficiently, but it also needs enough open space for warm-ups, movement prep, and group coaching.
This type of space may include:
- 4–6 rack stations
- a compact turf lane
- dumbbell area
- adjustable benches
- barbell and plate storage
- plyometric and medicine ball equipment
- a small number of accessory pieces
Storage is especially important in a smaller room because loose equipment can take over quickly. This size often works best when teams train in waves or smaller groups.
.webp)
6,000sq ft
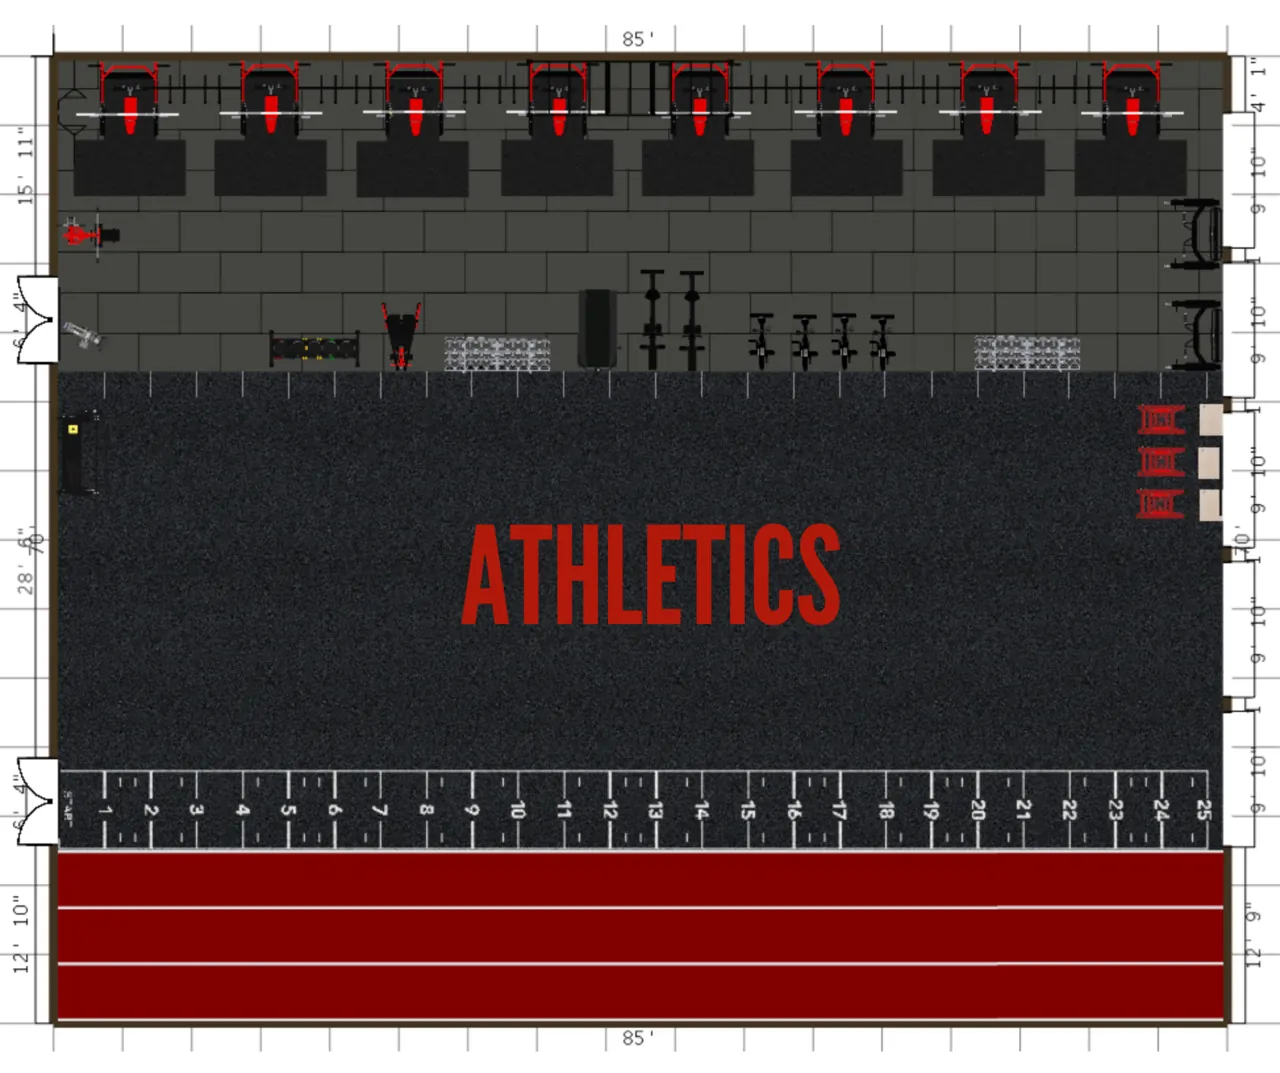
A 6,000 sq ft room gives coaches more flexibility. The facility can support clearer zones, more rack capacity, a larger turf or movement area, better storage, and a more efficient station-based training model. This size can work well for schools, colleges, and performance centers serving several teams.
The key is to balance strength capacity with movement space instead of letting racks, platforms, and machines consume the entire room.
We teamed up with Xavier Roy, Ph.D., to create a guide on Designing the Ultimate Athletic Weight Room. Inside, the 6,000 sq ft example shows how layout decisions, equipment selection, and training principles can work together for team-sport athletes.
A simplified sequence for planning an athletic training facility.
Each step reduces uncertainty later in the project. It also helps prevent one of the most common facility planning problems: choosing equipment before understanding how the room needs to work.
- Define the athletes’ needsAge, level, training experience, injury history, and sport demands all influence the room.
- Define the sports servedA single-sport facility and a multi-sport facility will have different priorities.
- Estimate peak usagePlan for the busiest realistic training block.
- Build the layout firstThe layout should show how athletes move, rotate, lift, sprint, and recover.
- Select equipment based on the programEquipment should support the training philosophy and the way sessions are coached.
- Align with budget cyclesSchools and institutions may need annual approvals, phased investments, or multi-year planning.
- Finalize customizationLogos, colors, turf, racks, platforms, and branding should be integrated once the functional layout is clear.
- Plan the installation timelineDelivery, installation, school calendars, construction deadlines, and team schedules should all be considered early.


